The eyelashes give the eyes a different glow. It is a trend nowadays as seen in celebrities and influencers. It is a must-have if ladies want to achieve the no makeup look. That is why the lashing process is as crucial to any client as the result itself. The clients will always want a lash extension that is worth more than what they paid for.
Customer satisfaction depends on great customer service. Lash artists should be giving their best on maintaining the lashes and extending the lash retention period for their clients.
For tips on how to provide excellent client services for better eyelash extension bonding & retention, read tips from Lash extensions Knoxville TN
1) Use high quality lashing adhesive properly
Every time you open your adhesive bottle, a little air enters inside. The moisture in the air reacts with the glue, degrading it. This process weakens the adhesive strength making the glue less effective, thus impacting the retention capacity. You must stop using the glue bottles every 5 weeks max, even if there is glue left. Write the opening date at the bottom to make it easy for you to remember.
It is important to follow certain storage tips to make the adhesive last. Store the bottle upright in a cool and dry place at room temperature. Unopened bottles can be stored in the fridge for not more than 90 days, for optimum freshness. Storing the open adhesive bottles in a refrigerator will cause the moisture inside the bottle to condense, which will cause premature curing of the adhesive.
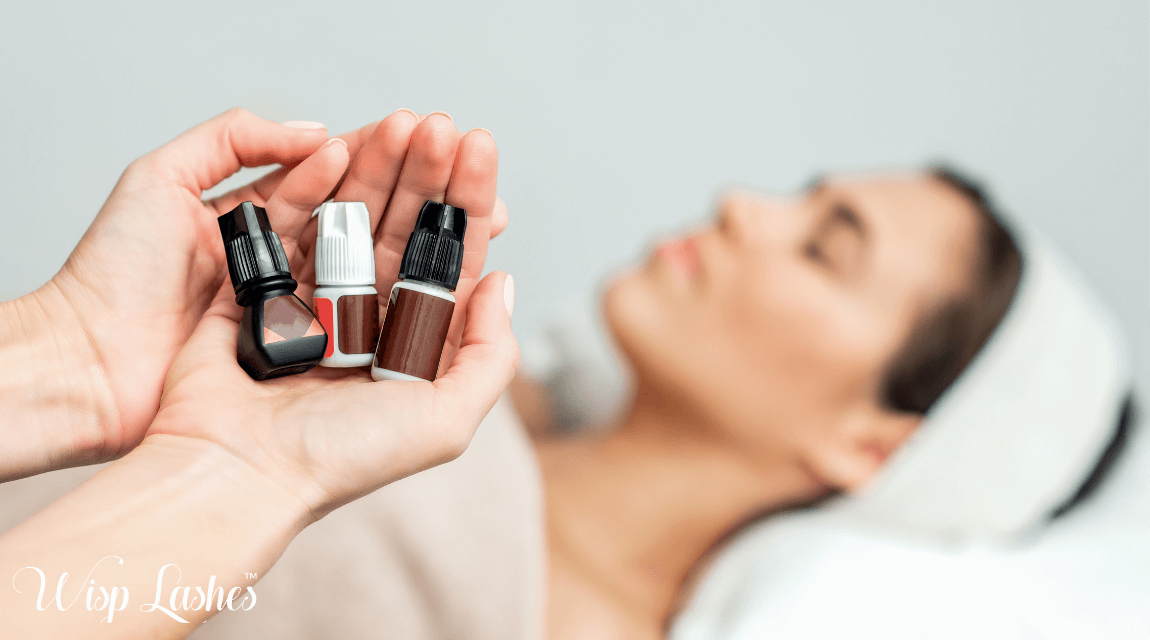
Lash extensions Knoxville TN recommend storing open glue bottles in a dark cupboard or drawer, away from sunlight, at a stable temperature of 65 degrees F. For lashing, the ideal temperature range is between 68-71 degrees F, depending on the time the lash artist needs for curing. Tighten the lid completely when you are done, to prevent air and moisture from sneaking in. Keep the nozzle of the adhesive bottle clean with a sponge or foil. Cotton, fibers, alcohol, and water chemically react with the adhesive, producing heat. It can clog the nozzle as well as change the composition of the adhesive.
2) The right humidity level for your lash glue
Every glue works best at a different humidity level. Read the manufacturer’s instructions carefully to make sure that the lash glue is still usable. Purchase a hygrometer to measure the moisture in your lashing room. If the moisture in the lashing room is higher than recommended, open the windows or purchase a dehumidifier. In contrast, if the humidity is low, get a humidifier to release water vapor into the air to increase humidity. You can also store a lash adhesive for high and low humidity so you can swap between them to suit the conditions that day.
When it is not possible to control the humidity, store the lashing glue in Ziploc bags with dry ice or silica. They draw moisture from the air, protecting the glue.
Shake your glue bottle well before opening, discarding the first drop before you use it. The glue drop effect will reduce if it is not used as soon as it starts to get tacky or stringing.
3) Quantity of adhesive used
Using the right amount of adhesive when working on classic eyelash extensions is the rule of thumb to better retention. Using extra glue can create a thick base, giving a thick feel making the client feel uncomfortable. It also leads to poor isolation with more than one lash stuck together. On the other hand, using less glue will cause the extensions to drop off prematurely due to poor bonding when brushing through the lashes.

Dip only 1-3 mm of the base of the lashes into the lashing adhesive. A tiny bead is formed at the bottom of the extensions when you dip the extensions in the adhesive. To check if the glue amount is appropriate, the bead must be gone after placing the extensions. If you still see the bead on the extensions, it simply means you are using more glue. Don’t dab or drab the excess glue as it will lead to uneven distribution of adhesive, weakening the bond, leading to poor retention.
4) Educating Your Clients
Don’t fret if the clients keep coming to you with poor retention. It may be due to negligence on their part. You might have to harp on aftercare every time they see you, whether they have opted for classic lashes or volume lashes. Be generous in giving lash retention tips for clients. It takes time to build great aftercare habits. Remind them that by keeping their eyelash extension clean, sleeping properly, and avoiding oil products, can save their time and money. If you get this point across, it will help both of you in the long run.

Clients with oily skin face more trouble with retention than their dry skin counterparts. Besides spending extra time prepping your oilier clients, they will have to clean their lashes twice daily without fail. Additionally, soak extra oil with blotting paper, so it does not seep into the lash line.
Educate your clients regarding the ill effects of sweat and salt on lash bonds. Advise them to be mindful after workouts or swimming sessions to prevent sweat and salt deposits on the lash line. The adhesive is not salt and sweat-friendly.
5) Appropriately Curing the Adhesive
Lash artists tell their clients to keep their lashes dry for the first 24-48 hours after application. To give the curing process a head start, using a nano mister at the end of the process will help curing the adhesive faster. So just in case, your clients fail to follow instructions, the result won’t be that bad. Additionally, this process will reduce the fumes emerging from the adhesive which can make your clients feel more comfortable.

If nanomisting is not done correctly, it can cause damage and breakage, causing the lashes to fall off sooner. Wait for at least 2 minutes after placing the lashes before you start using the nano mister. If you overdo this procedure, the extra mist will have a reverse effect, shock curing the adhesive. The adhesive hardens prematurely due to shock curing and the hard shell formed does not permit moisture to cure the adhesive underneath. The result is poor bonding, poor retention.
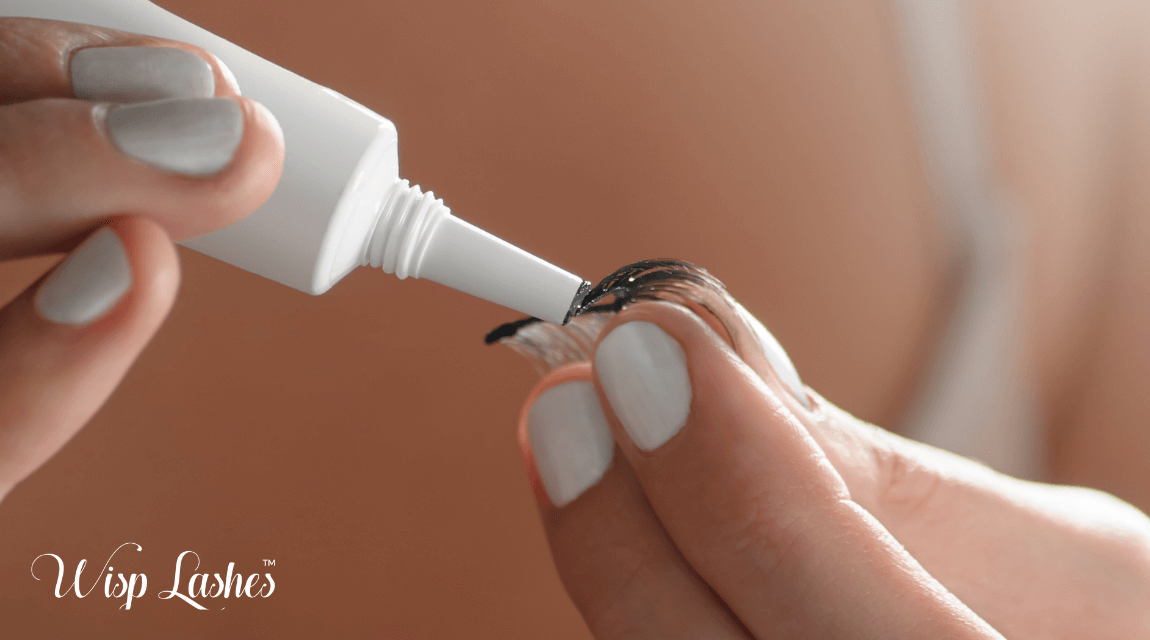
6) Clean your lashes well
The adhesive sticks strongly on a clean working surface devoid of any oils, dirt, debris, or residue. Thus, having squeaky clean lashes before lashing by using an oil-free cleanser is crucial to increase the bonding capacity of the glue. Rinse well after cleansing as any soapy residue can also become a barrier between the lash and adhesive. Comb your client’s lashes with a lash wand and completely dry them before you start the actual lashing procedure. Educate your clients to follow this routine daily, especially after swimming, workouts, or make-up, to make their lashes last longer. It is advisable to be proactive with the cleaning procedure than risking your reputation.
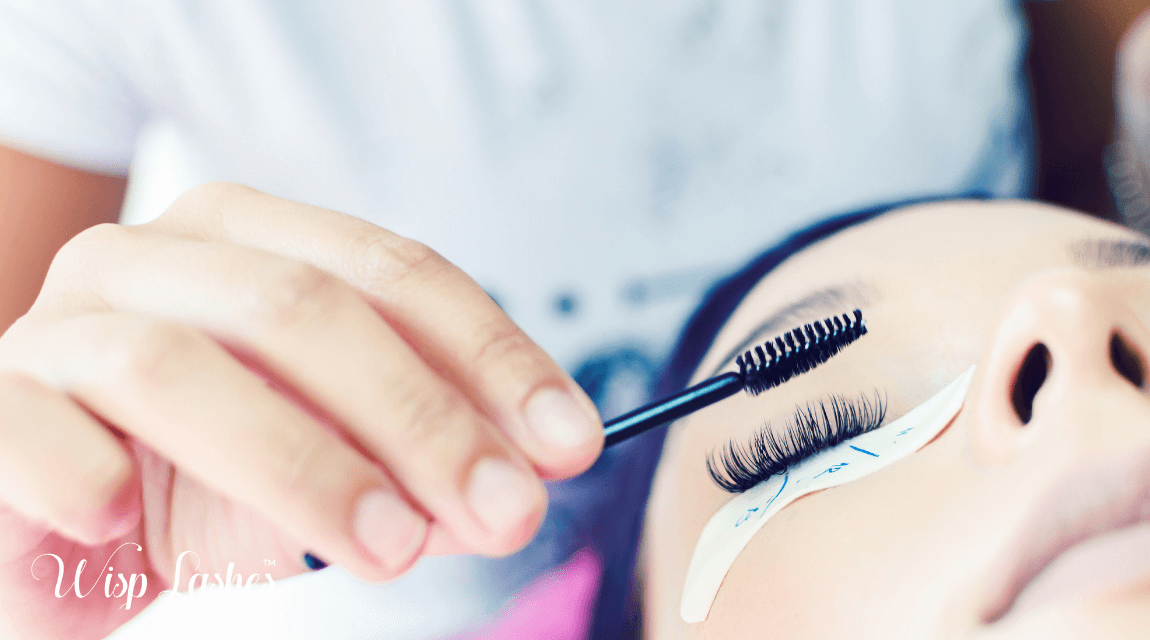
7) Angle of lashing
The extensions should not be placed at an angle; they should be perfectly parallel to the natural lashes. If the base of the extension does not latch fully to the natural lashes, there is a high possibility that they may come off pretty quickly. Even if the placement angle is too sharp, there is a limited surface area available for bonding between the extensions and natural lashes, which will ultimately limit its lifespan.

It is pivotal to isolate the natural lashes before you dip the extensions into the adhesive, as it will start to cure instantly. So as a rule isolate, dip, and then apply.
Conclusion
If the clients notice excessive shedding without the natural lashes attached, it signals towards one of the above problems. Finding the root cause of poor retention may be tricky, but avoiding these killers can be a win-win situation for you and your clients. Wisp Lashes is proud to be one of the best service providers in the Lash extensions Knoxville TN industry. Our professional service and plush environment make us the top choice when women search for eyelash extensions near me. Customer satisfaction is our topmost priority.
The post Tips For Better Eyelash Extension Bonding & Retention For Client Satisfaction appeared first on Wisp Lashes.